default page
Video guidelines
The following guideline applies to the production of any videos to be used on the PHCP website and YouTube channel, for training, FAQ or other purposes.
Visual standards
We strive to maintain a visual standard across all PHCP communications and to produce material that is compliant with copyright and other legal requirements. We ask that you do not include any music or direct advertising in your video production and that you refrain from adding credits as these can be added in post-production to adhere to PHCP branding standards. You can provide the desired credits in an email when you sending your video.
Once completed and sent to us (file transfer info below), videos will have PHCP poster frame, branding and your credits added to them. They will then be uploaded to the PHCP YouTube channel so that share links can be added to the appropriate pages in the website. If you have questions about titles or credits, email us and we’ll work it out.
We expect to be dealing primarily with two basic video styles:
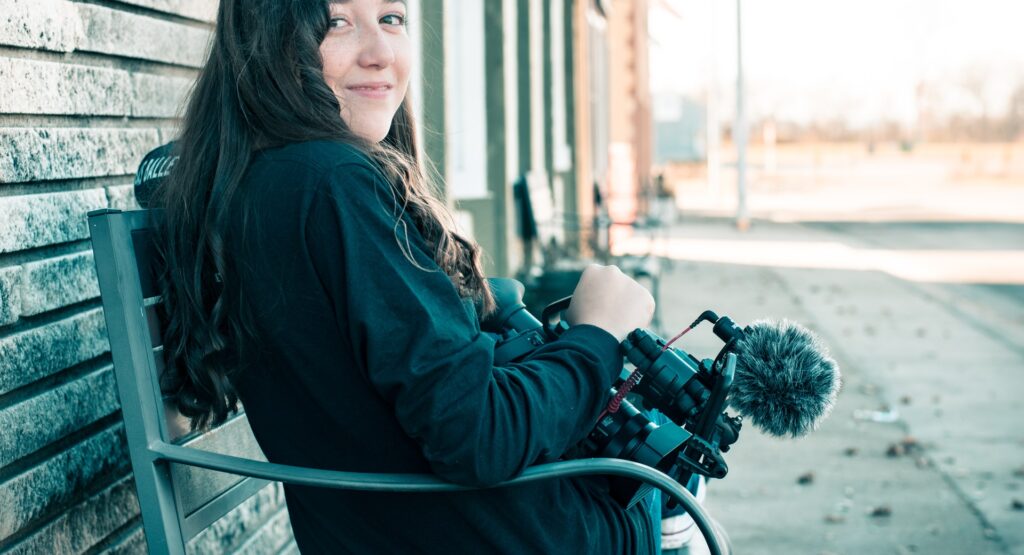
- Talking head (someone presenting to the camera)
- Composite videos from snippets that can be edited together with either a voiceover or titles. If you are creating your own composite video and titles are necessary, please keep these and any effects very simple and clean.
Workflow
- Always – and only – shoot in horizontal format.
- Put your camera on a tripod or stand. If your camera (DSLR) has lens or body stabilization built in, turn it off so it doesn’t attempt to adjust while holding perfectly stilll.
- Be sure you have sufficient light (enough or not too much). It is always smart to do a quick test before filming the real thing to be sure that light, focus and audio are working properly and well balanced. Avoid backlighting (subject will be a dark silhouette) and avoid overexposing as it is very hard to correct this after the fact.
- If you are filming with a DSLR camera, the microphone is likely to be low quality, so you might want to purchase or borrow an external microphone to improve the quality of the audio. Most external camera mics will also work with smartphones but might require a different adapter for Apple phones. You can find an inexpensive lavalier (clip on) or hot/cold-shoe mounting mic (for DSLR) on Amazon from $30-75. Some decent brands are Boya, Comica, Saramonic and Movo. Rode makes a more expensive but very popular video mic and if you are interested in a wireless mic setup, Godox makes a super model (2 mics, 1 transmitter) that is not too expensive. If you are using a (newer) Android phone, iPhone or iPad, the audio will generally be perfectly acceptable.
- If you are doing a voice-over to go with your video, you can simply record it using any recording app on your smartphone or on your computer. Be sure you are loud enough but not “clipping” (distorting due to too much “gain”). Some phones have a built in “limiter” that will prevent clipping and this can sound bizarre, too, so do a test!
- To allow for the most flexibility and highest quality in post-production, try to shoot at a fairly high resolution. For DSLR cameras, iPhone or Android, and if possible, set your video format to 4k (3840 x 2160 px) and 24 or 30 fps (frames per second); if your camera doesn’t offer this resolution, use what is referred to as 1080p – 1920 x 1080 px and 24 or 30 fps. Any smaller will not be high enough resolution for YouTube (for example 1280n x 720 px – way too small).
- If shooting somewhere where the light will be changing (like outdoors), lock your camera or phone’s exposure (and focus, too, if that is an option) so it isn’t automatically adjusted during filming which can be very distracting. On both iPhone and Android camera apps, you can touch the screen at any spot and test to see whether touching a lighter or darker area gives the look you want. On iPhone you’ll see a message on the screen in yellow indicating it is locked, depending upon which Android phone you have, you may see a lock icon that you can click to lock the exposure. If you are shooting with automatic settings on a DSLR camera, there is usually a button or setting to lock the exposure and/or focus. If you need more guidance, just Google “lock exposure” for your camera model.
iPhone – https://youtu.be/3rLdQWDjg2A
Android – https://youtu.be/PWFAiOV8_zE - When your video content is done, you can send it to the address below for final mastering via any online service that lets you send large files (they are likely to be big!). A few options are below. If you have already got large-scale storage somewhere like DropBox or Google Drive, you can also put them there and share the link – however uploading to these locations (especially Google Drive) can be very slow as the upload is web-based. Services like WeTransfer manage these large-file sends in a slightly different way so they go faster.
- Email any desired or required video credits to the email below
File transfer
Send your files (or questions) to media@progressivehoofcare.org
https://wetransfer.com/
https://send-anywhere.com/
http://free.mailbigfile.com/
https://www.hightail.com/