default page
Good Hoof Photos and How to Take Them
As a Hoof Care Practitioner you will need to document the hooves you trim. It’s amazing how much you can learn from your photos. You will see things you may not have noticed in the field. Hoof photos provide us with a record of our client horses and allow us to see the progress (or not) made over time.
The PHCP training program requires that you document and present case studies to advance through and complete the training program. Start taking photos now! Don’t wait until your presentation is due. It takes practice to get the correct angles and good quality photos.
To get started this is what you will need
- A digital point and shoot camera or a good cell phone. The best settings on a camera will be auto or portrait. No flash, it washes out the subject.
- A clean and level surface, free of clutter (tools, hoof jacks, shavings, hay, etc…)
- Rubber mats, a barn aisle, cement/pavement, or solid ground
- Natural light with no shadows. Photos are best in an even shaded area. Avoid bright sun, deep shade, or partial sun and shade (mottled). If you end up with poor lighting and have to use a flash, position the camera farther from the hoof and zoom in to minimize the flash wash.
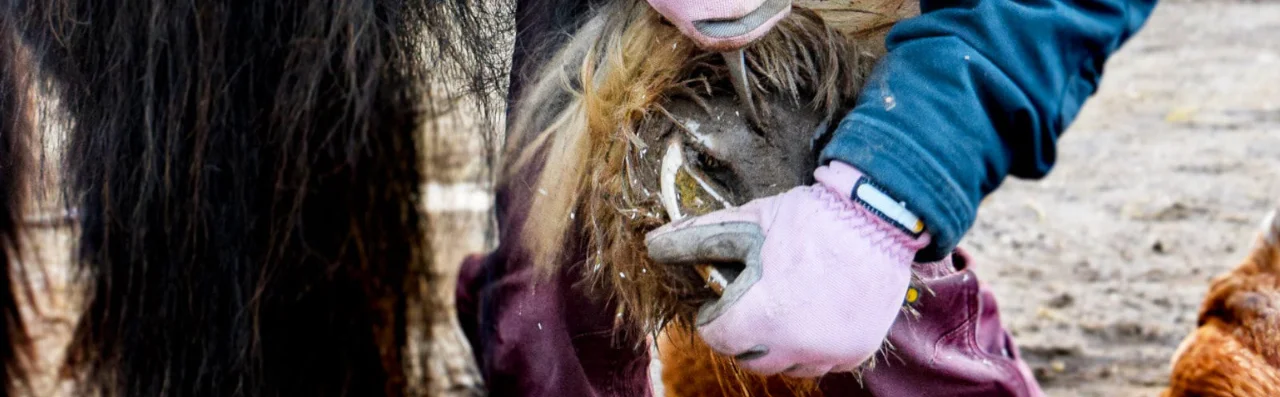
- A clean hoof; use a stiff brush to clean ALL mud, dirt, debris, from the wall, sole, frog, collateral grooves, and heels. Hoof photos can not be evaluated properly unless they are free of ALL debris.
Time to shoot your photos
- Stand the horse on level ground with ‘a leg at each corner’. Each hoof should be loaded equally
if possible and watch out for stretched out stance, legs standing under and cocked hind feet. - Take your photos in sequential order. ex: full body left side, then left front dorsal, lateral, caudal,
solar, oblique and on to the left hind. Repeat this sequence on the right side hooves. - To zoom or not to zoom. In the finished photo the subject should fill the screen. This can be done by shooting up close to the subject, zooming in from a small distance away, cropping the photo, or any combination. Experiment with your camera/phone to see what works best. Generally, shooting in pretty close and cropping to remove any margin is a safe bet.
Tips for the busy hoof care practitioner
We know that schedules can be very full and taking photos can seem like time you don’t have.
- Carry your cell phone or camera on you when you work.
- These days cell phones can take amazing photos. Put yours on airplane mode, so you aren’t distracted by calls and messages.
- Print out the required photos or bookmark them on your phone.
- Practice at home on your own horse(s) first.
- Always take your photos in the same sequential order. It will become routine very fast and it’s easier to label your photos later on at home.
- Schedule in some extra appointment time for new clients and take before and after photos of this first trim so you may refer back to them in the future. It is a good idea anyway to have that extra time for discussing diet, etc., and getting to know the horse. You can ask questions while you are snapping some pictures. This could turn out to be the pathology case you wished you had photos of from the start.
- Take down new client information and horse histories before arriving at the barn. This can be done on the phone or in a simple form through email, text, or whatever mode you use to set up appointments. You will arrive prepared mentally, and with any boots or products for your new case. Good documentation is an important business practice and will come in handy when you are preparing your media presentation.
- For horses already on a regular trimming schedule, take after trim photos only. The hooves will already be clean and the horse settled in, so this will take very little time. This provides plenty of extra time to practice your views and photo quality and you will learn from your photos when you get home to the computer and review your trimming.
As you take more and more hoof photos it becomes second nature. You know exactly where to put
your camera/phone to get the correct angle, you learn what lighting works best, and you find out which places in the hoof you tend to go back and touch up.
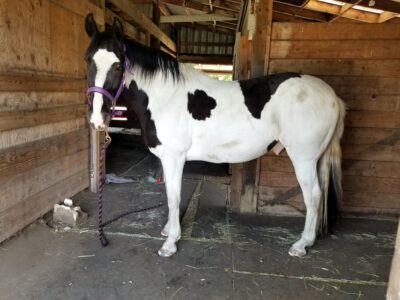
Full Body Shot
position the camera perpendicular to the withers/barrel and on the same elevation as the horse
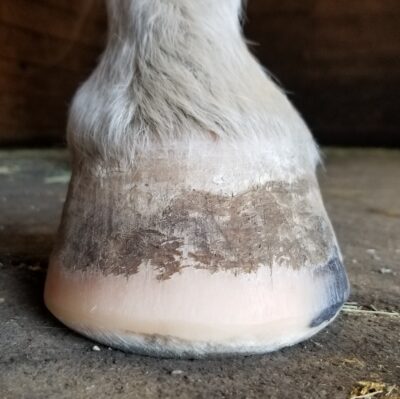
Dorsal view
position the camera on the ground and perpendicular to the center of the hoof
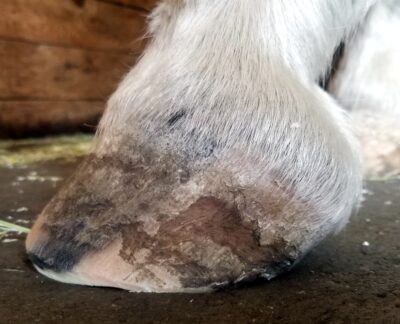
Lateral view
position the camera on the ground line up the heel bulbs to make sure you are truly perpendicular to the hoof
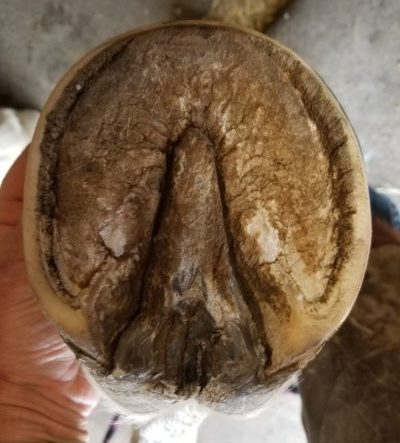
Solar view
point your camera perpendicular to and directly above the sole
Oblique view
this view is shot from the lateral heel across the medial toe, it should be at a high enough angle to see the whole sole, but low enough to see the depth of concavity

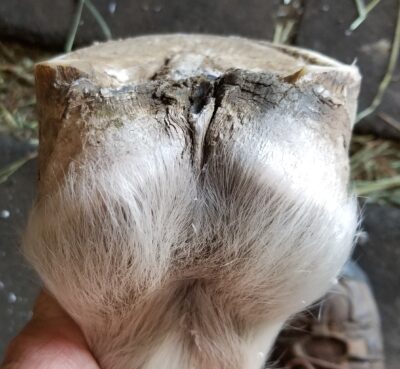
Caudal view
take this view just like you are checking the balance and looking for any high spots
Take lots of pics and don’t forget to smile!